Building the Arm
Now you have to build the hardware for your robotic arm. It doesn't matter which arm you use,
as long as it has 4 DOF. I used the arm from EEZYRobots for this project. All needed files and
instructions for the build can be found on the EEZYRobots webpage:
EEZYRobots Arm Mk 1
Download all STL files and print out the parts in the required number.
Then build the robot according to the respective instructions and make
sure that all axes of the robot can be moved freely.
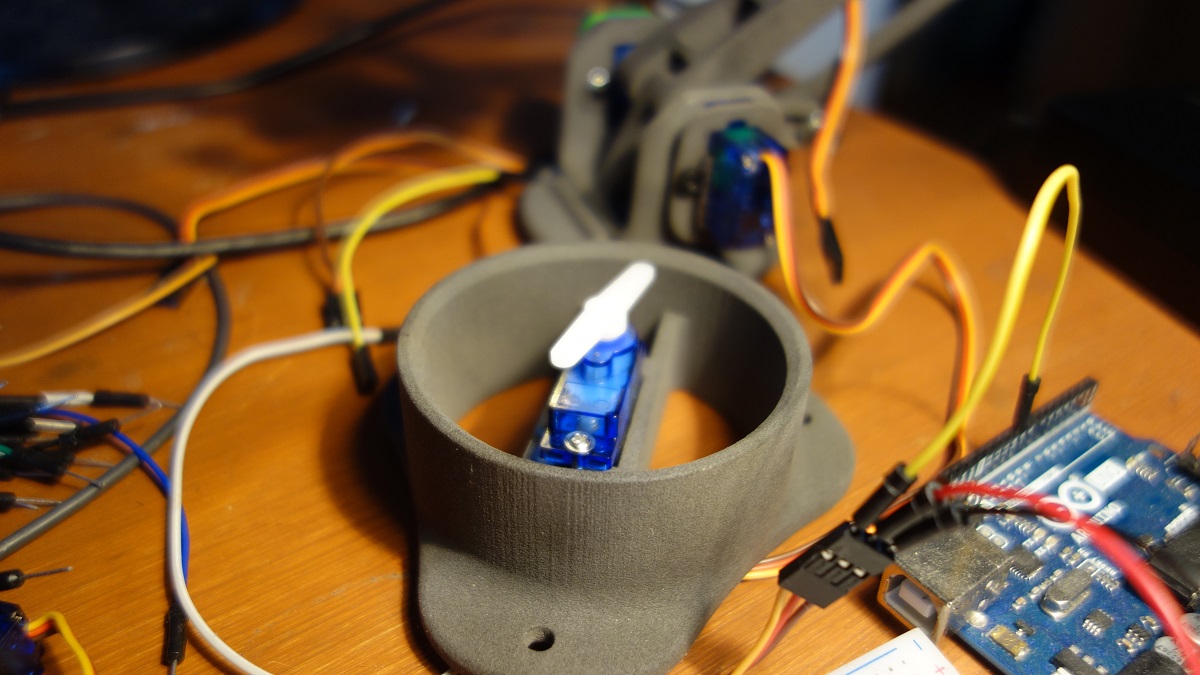
Preposition the Servos
Before all the servos are nested into the robot arm, make sure that they are set to a reasonable initial position.For example, for the base joint 90 degrees is the ideal starting position. For all other joints, it depends on the direction of rotation and the initial position of the arm. This must be decided for each robot and servo individually. To position the Servos you can again use the control prototype software.
ATTENTION --- ATTENTION --- ATTENTION --- ATTENTION --- ATTENTION --- ATTENTION
It is absolutely important to remember the starting position of each joint. Make a note of the start positions
for all joints before installing the servos!
ATTENTION --- ATTENTION --- ATTENTION --- ATTENTION --- ATTENTION --- ATTENTION
/* Robotarm
 * Robotarm Control Prototype
 * Stefan Hager 2022
 */

#include <Servo.h>

Servo base;
Servo shoulder;
Servo elbow;
Servo gripper;

// create all required objects from class Servo


void setup()
{
  // opens serial port, sets data rate to 9600 bps
  Serial.begin(9600);
  base.attach(9);
  shoulder.attach(10);
  elbow.attach(11);
  gripper.attach(12);

  // Message to user
  Serial.println("To select joint: 1=base 2=shoulder 3=elbow 4=gripper");
  Serial.println("Insert target angle between 0 and 180 degrees");
}

void loop()
{

  Serial.println("Select joint : ");
  char command = readnextValue();
  Serial.println("Select value : ");
  int value = readnextValue();
  if(command == 1)
  {
    Serial.print("Base moving to position ");
    Serial.println(value);
    if(value >= 0 && value <= 180)
    {
      base.write(value);
    }
  }
  if(command == 2)
  {
    Serial.print("Shoulder moving to position ");
    Serial.println(value);
    if(value >= 0 && value <= 180)
    {
      shoulder.write(value);
    }
  }
  if(command == 3)
  {
    Serial.print("Elbow moving to position ");
    Serial.println(value);
    if(value >= 0 && value <= 180)
    {
      elbow.write(value);
    }
  }
  if(command == 4)
  {
    Serial.print("Gripper moving to position ");
    Serial.println(value);
    if(value >= 0 && value <= 180)
    {
      gripper.write(value);
    }
  }
  delay(1000);
}

// reads a character from serial

// reads one number from serial and deletes
// all misleading characters

int readnextValue()
{

  while (Serial.available() == 0)
  {
    // empty loop - we are still waiting for a real value
  }
  // read the incoming value
  int value = Serial.parseInt();
  // clears the serial buffer
  while(Serial.available() > 0) {
    char t = Serial.read();
  }
  return value;
}
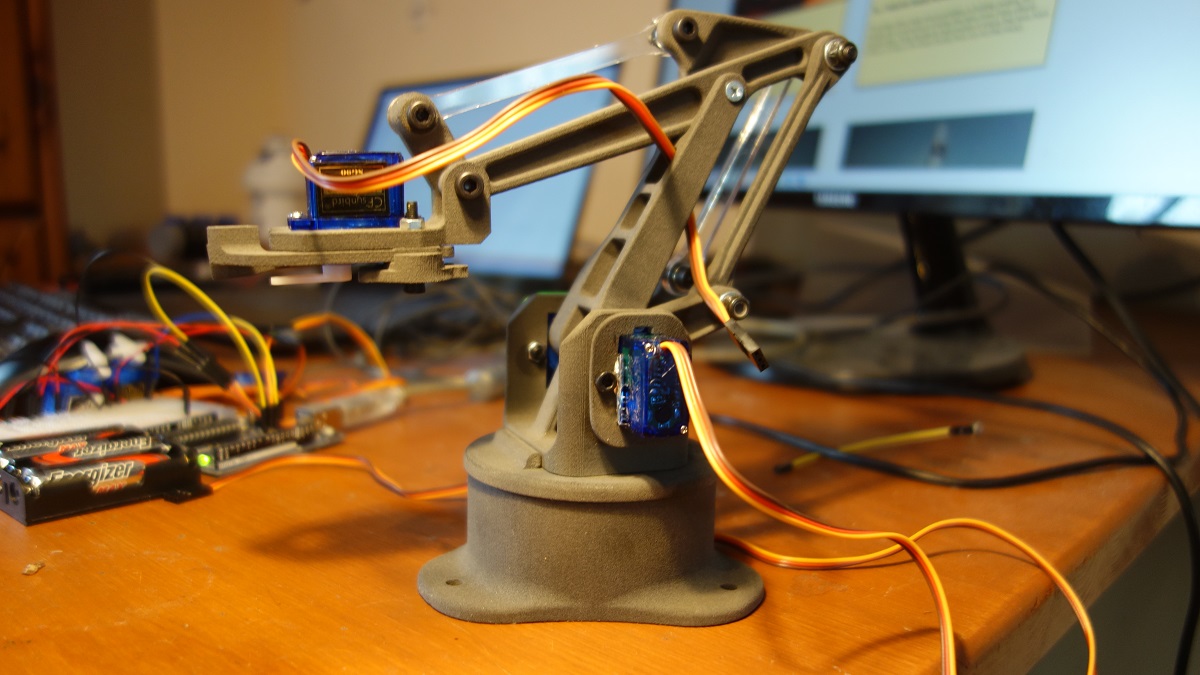
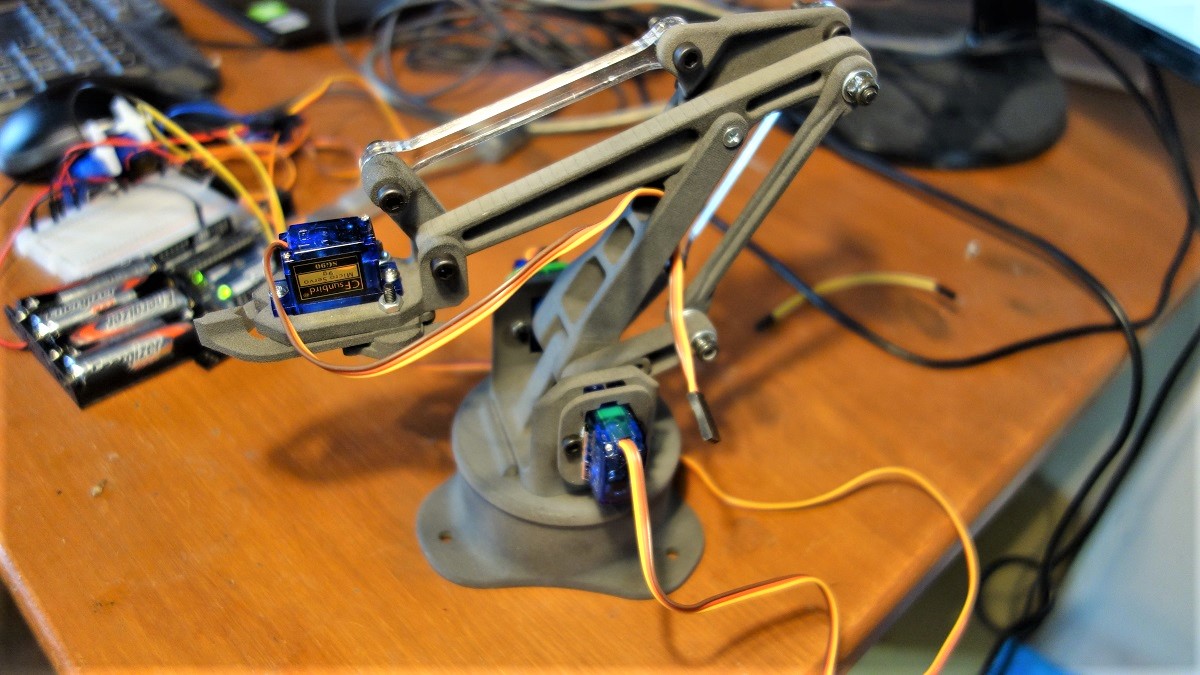
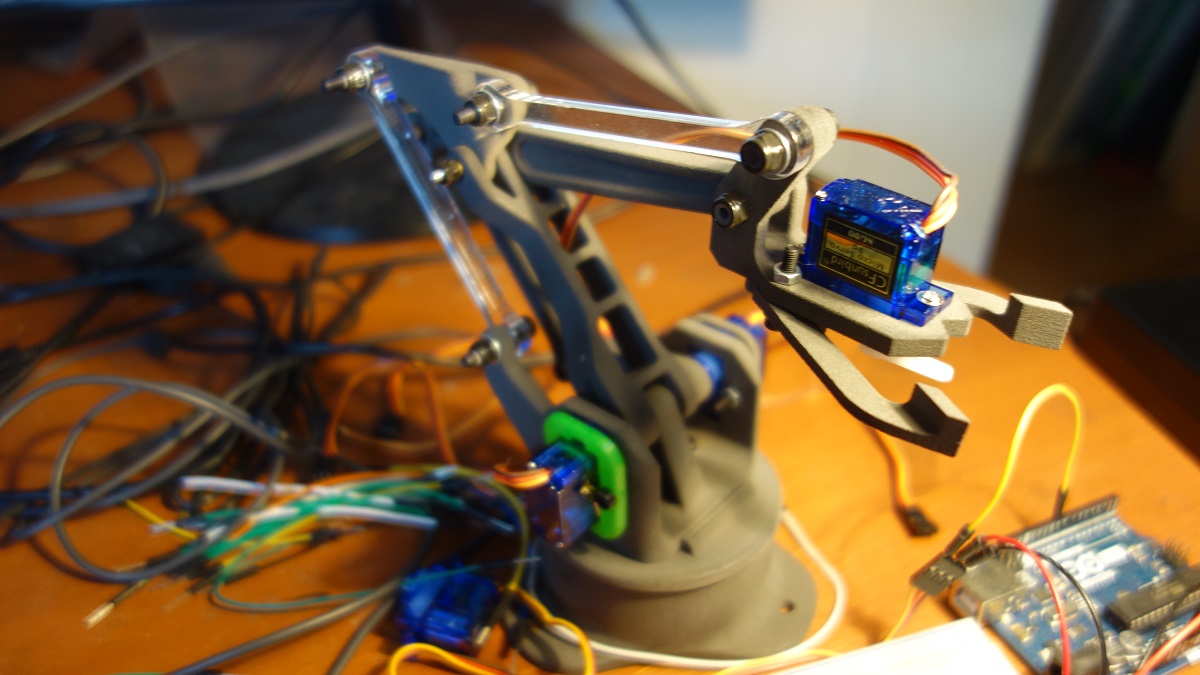
Final Assembly
The robot with the built-in servos might look like this: