Building and Programming a Robotic Arm
We are building a 4 DOF arm for a robot. DOF stands for degrees of freedom and indicates how many axes the robot arm can move. For the robot arm itself, there are many freely available files for 3D printing on the Internet, if you do not have your own 3D printer, there are also ready-made kits with all the necessary parts to buy.
1 / 5
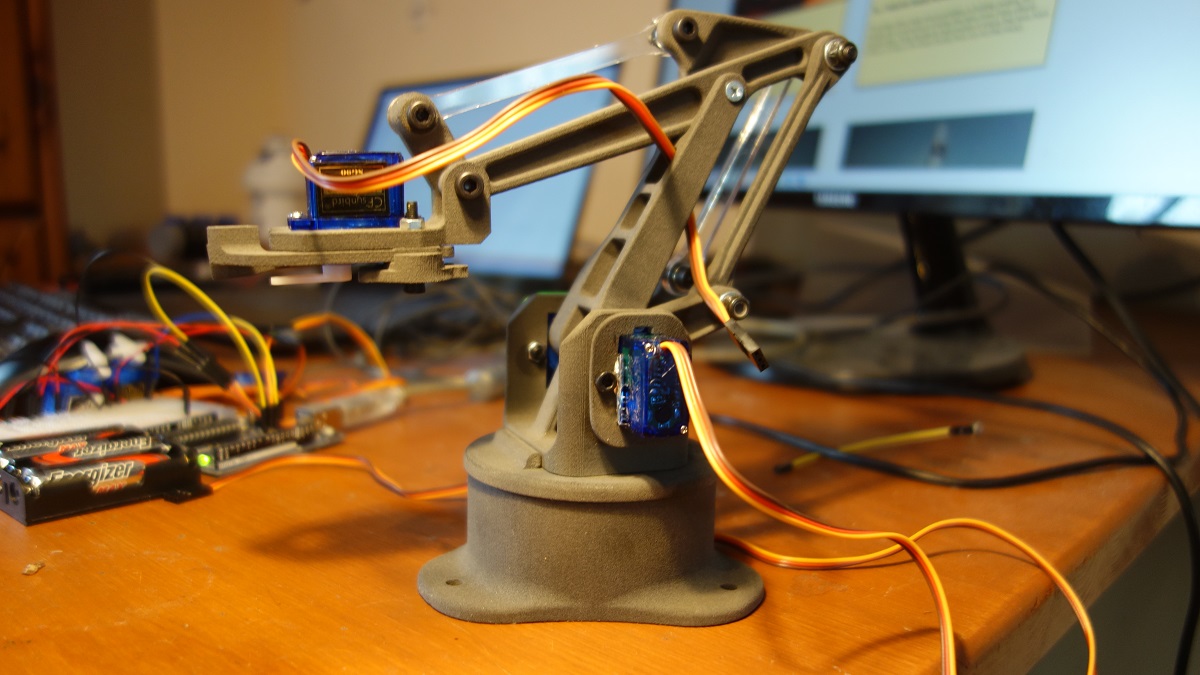
Robotic Arm 1
2 / 5
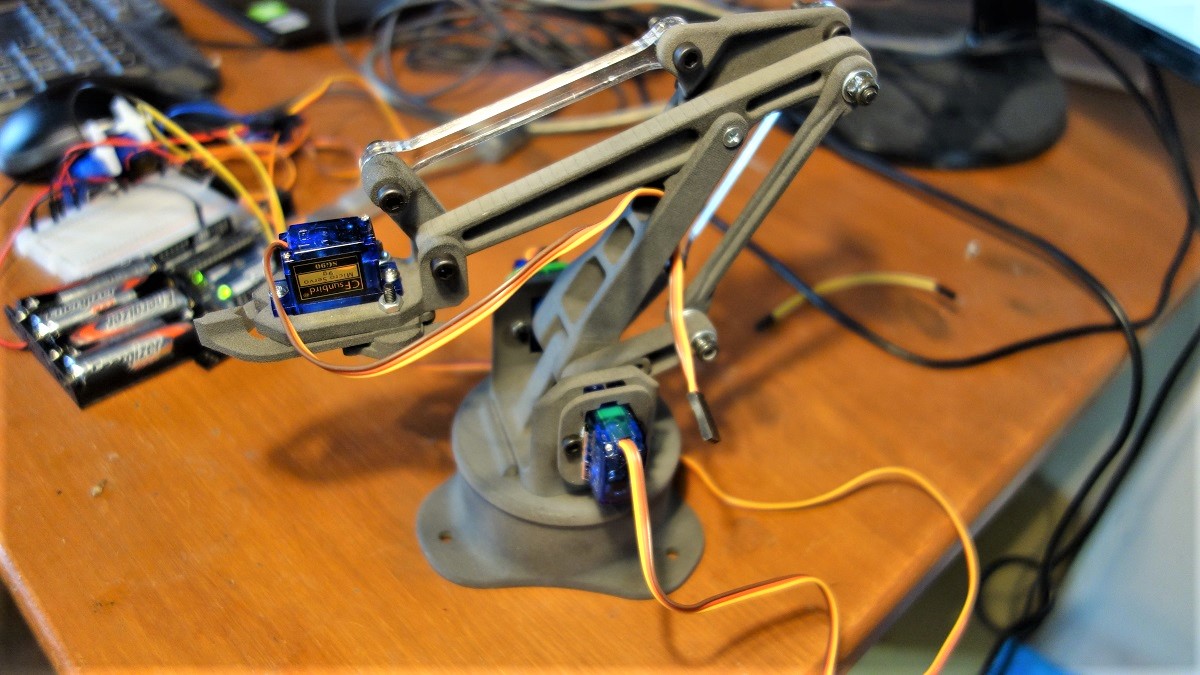
Robotic Arm 2
3 / 5
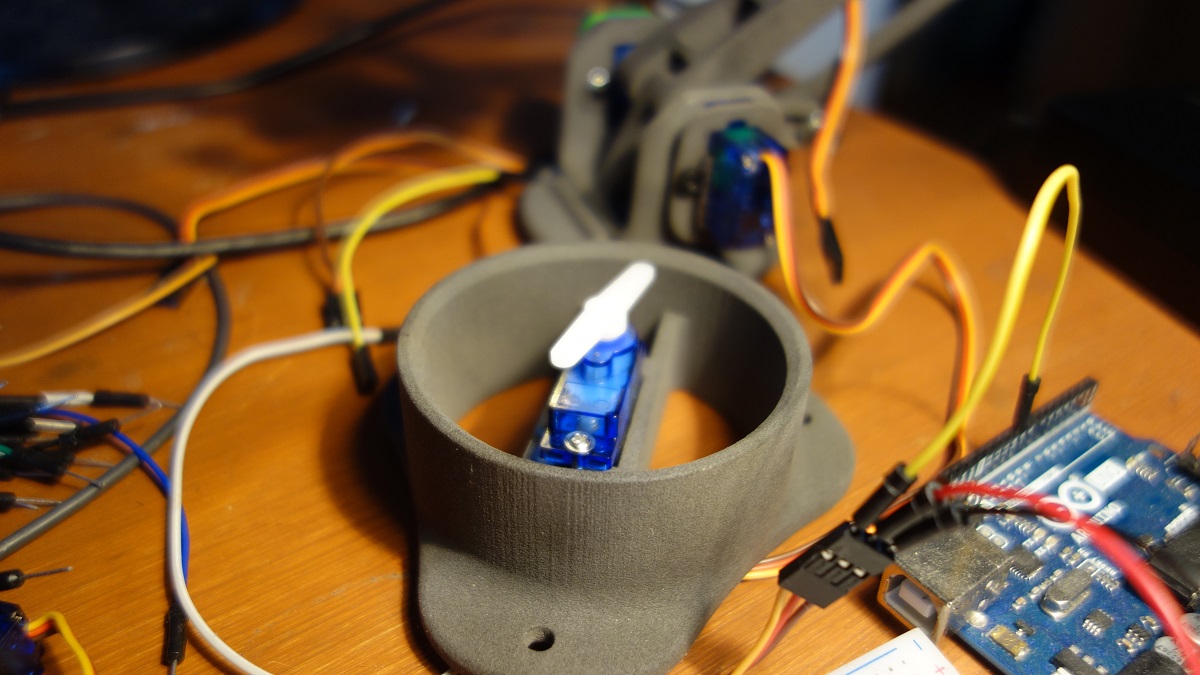
Robotic Arm 3
4 / 5
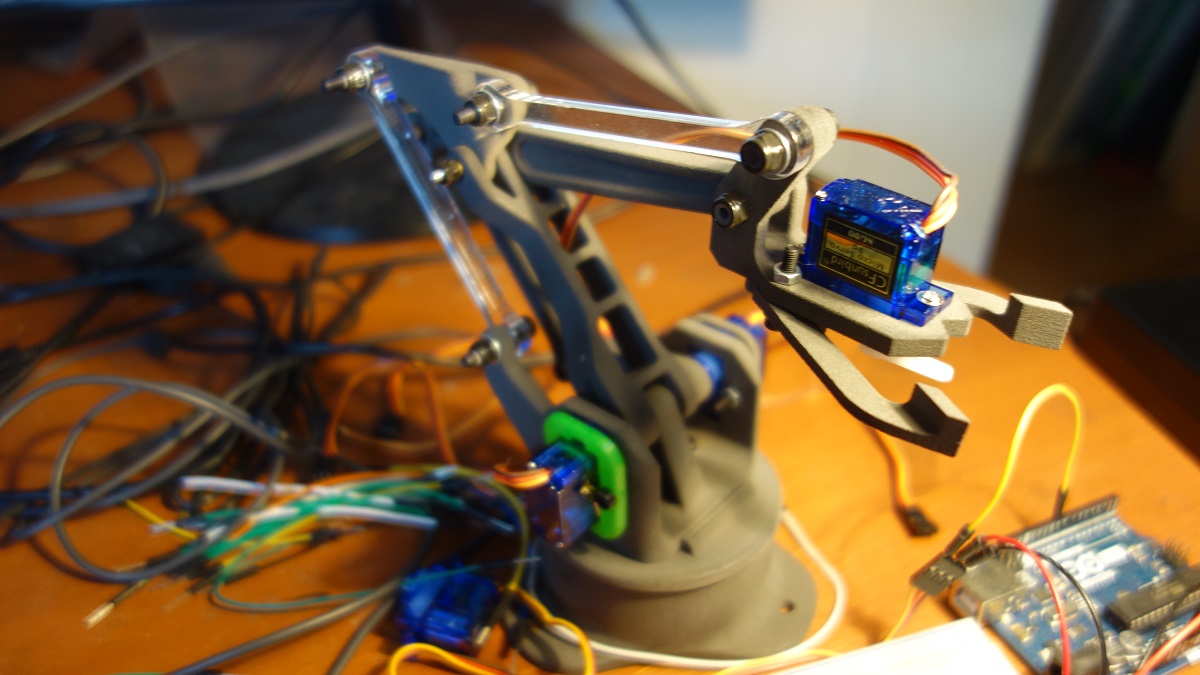
Robotic Arm 4
5 / 5
Robotic Arm 5
Required Parts
1 x all parts for the robotic arm itself (e.g. EEZYRobots Arm Mk II)
1 x Arduino UNO microcontroller
4 x Servos which fit into the arm hardware (e.g. SG90)
1 x 5V to 9V external DC power supply
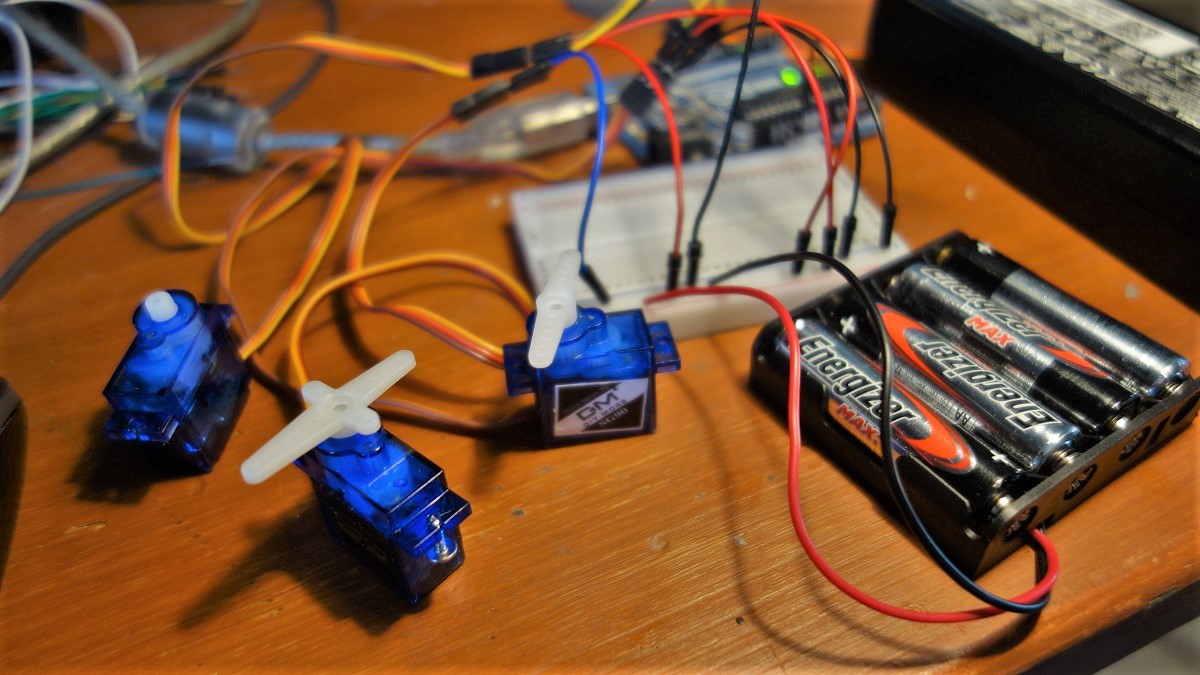
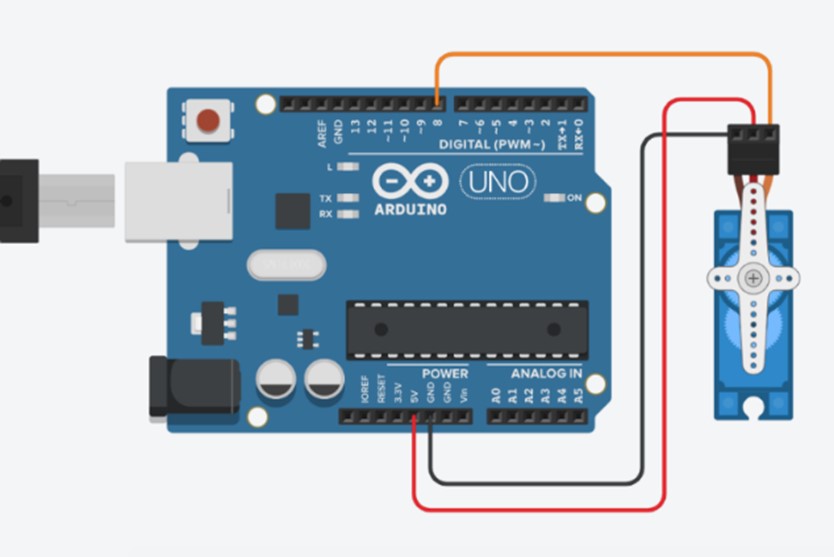
Initial Sevo Test
Very simple test to check if the wiriring is correct and if the microcontroller and the servos are working. Connect the servo data cable (yellow) to pin 8 and use Arduino's 5V output and ground pins to provide power for the servo.
/* Robotarm
 * Servo Test
 * Stefan Hager 2022
 */
#include <Servo.h>

Servo myServo;

// create object myservo from class Servo

void setup() {
    myServo.attach(8);  // connect Servo with PIN 8
}

void loop()
{
  /*
   * set to 0, 90 and 180 degrees angle,
   * wait 2 seconds in every new position
   * step back to 0 again
   */

  myServo.write(0);
  delay(2000);
  myServo.write(90);
  delay(2000);
  myServo.write(180);
  delay(2000);
  myServo.write(90);
  delay(2000);
}
Direct Servo Control
Next, we will remotely control a servo through user input. For control we use the serial monitor of the Arduino IDE.
/* Robotarm
 * Direct Servo Control
 * Stefan Hager 2022
 */

#include <Servo.h>

Servo myServo;
// create object myservo from class Servo

int value = 0;
// variable for input

void setup()
{
  // opens serial port, sets data rate to 9600 bps
  Serial.begin(9600);
  myServo.attach(8);  // connect Servo witrh PIN 8
}

void loop() {
  // put your main code here, to run repeatedly:
  Serial.print("Enter new position : ");
  value = readnextValue();
  Serial.println(value);
  if(value >= 0 && value <= 180)
  {
    myServo.write(value);
  }
  delay(1000);

}
// reads one number from serial and deletes
// all misleading characters

int readnextValue()
{

  while (Serial.available() == 0)
  {
    // empty loop - we are still waiting for a real value
  }
  // read the incoming value
  int value = Serial.parseInt();
  // clears the serial buffer
  while(Serial.available() > 0) {
    char t = Serial.read();
  }
  return value;
}