Raspberry Pi Basic Setup
First you have to decide if you want to use the Rapi with or without graphical user interface.
For many projects it makes sense to run the raspberry pi only with the “Raspberry Pi OS lite” without desktop. In very few scenarios, the Rapi is used with a connected monitor, and the desktop also requires unnecessary storage space and computing power. On the other hand, some things are easier to test when a desktop is available - cameras, for example. Another possible strategy is to first run the rapi with desktop and later boot without GUI to avoid wasting computing power.In this tutorial I want to show how to configure the Raspi so that you can develop your project easily and comfortably even without a desktop on the Raspi. To execute commands on the Raspi we will of course use SSH, for simple file exchange between Raspi and a Windows computer we will use “Samba”.
Required Parts
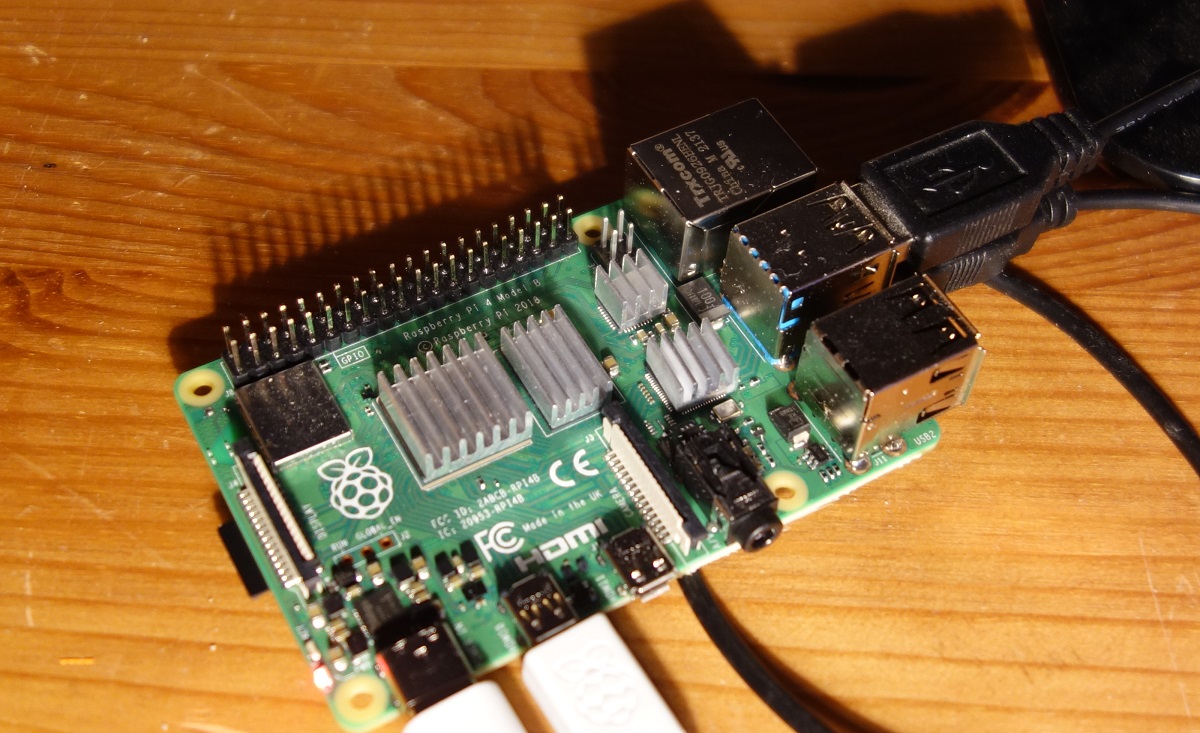
1 x Raspberry Pi 3 or later
1 x Micro SD Card
1 x Micro HDMI to HDMI cable
1 x Monitor, mouse and keyboard
Basic Setup
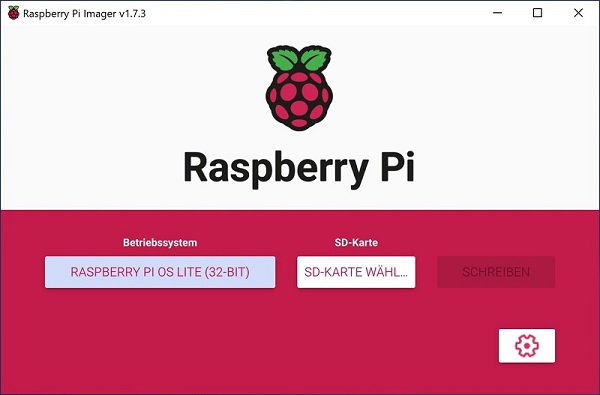
Download and install Raspberry Pi Imager to a computer with an SD card reader. Put the SD card you'll use with your Raspberry Pi into the reader and run Raspberry Pi Imager. Install “Raspberry Pi OS lite (32 Bit)” without desktop or “Raspberry Pi OS (32 Bit)” with GUI according to instructions. Now connect mouse, keyboard and monitor (at the Micro HDMI) and connect the Raspi to the power supply. The Raspi boots as soon as it is connected to power supply.
Network Configuration
The first step is to integrate the raspi into an existing WIFI network. Make sure that a WIFI network is available, get the SSID and the WIFI password if not already known. Change to “root” user and unblock the WLAN card (software – block).
sudo rfkill unblock 0
In the next step we configure the WIFI adapter with a fixed IP, under which Raspi will be reachable in the future. Make sure that the IP does not collide with the address assigned by your DHCP server. In case of problems, the DHCP server must be set to keep an address range free which we can use for the Raspi.
If the Raspi needs internet access, make sure you have the gateway address and the address of the stardard DNS available. Open the interfaces – file in an editor:
sudo nano /etc/network/interfaces
Add the following setting for the “wlan0” adapter:
allow-hotplug wlan0
iface wlan0 inet static
  wpa-ssid "YOUR WIFI SSID"
  wpa-psk "YOUR WIFI PASSWORD"
  address XXX.XXX.XXX.XXX
  netmask 255.255.255.0
  gateway XXX.XXX.XXX.XXX
  dns-nameservers XXX.XXX.XXX.XXX
Restart the device and test with ping. Make sure that the Raspi is up to date:
sudo apt update
Enabling SSH
If the ssh has not yet been activated (normally only with “Raspberry Pi OS lite”) it is now time to do so:
sudo systemctl enable ssh
Restart the device.
Connect via SSH
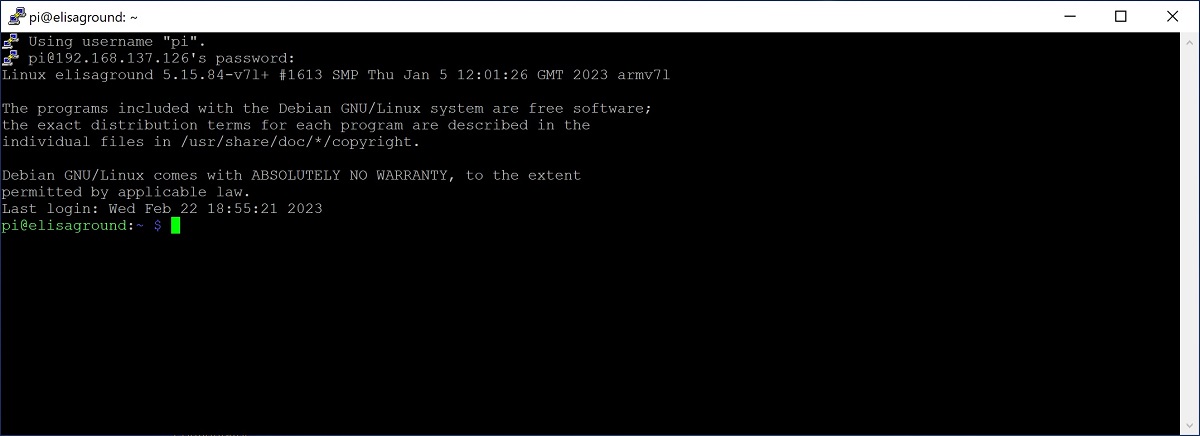
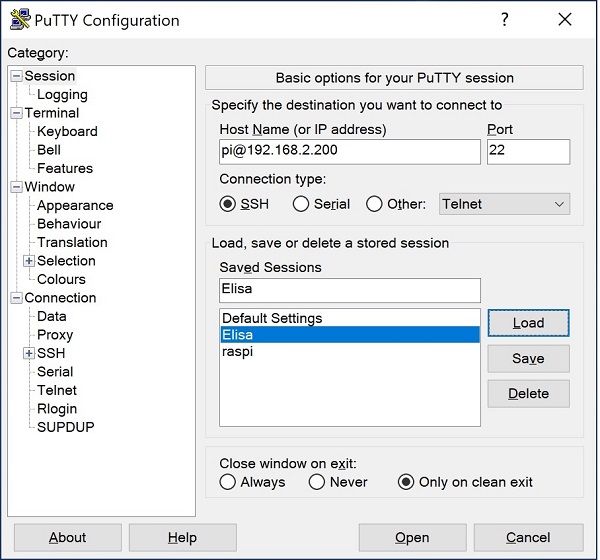
For the SSH test, you can either call SSH from the command line or use a program like putty.
Should look like this: