Connecting Raspberry Pi with Pixhawk
This tutorial explains how to connect and configure a Raspberry Pi (RPi) so that it is able to communicate with a flight controller using the MAVLink protocol over a serial connection. This can be used to perform additional tasks such as image recognition. HERE you can find general instructions for setting up the Raspberry Pi.
Required parts:
1 x Pixhawk 2.4.8 (or similar)
1 x Raspberry Pi (min. Version 3)
Hardware Setup
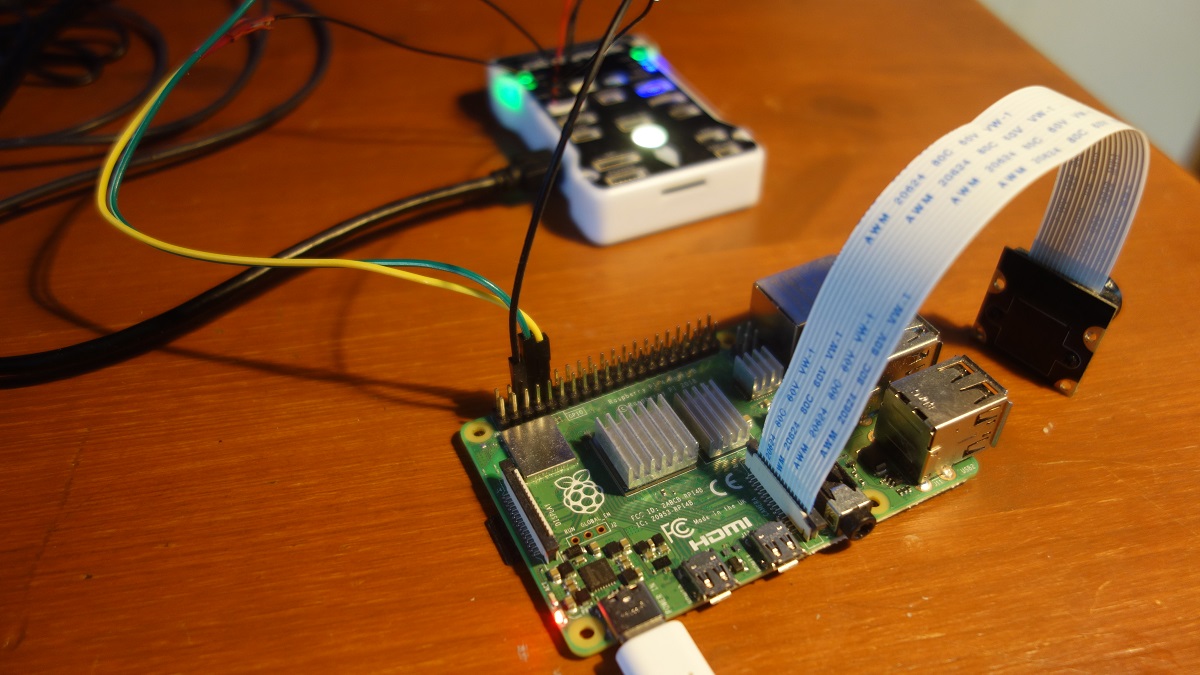
Connect the flight controller’s TELEM2 port to the RPi’s Ground, TX and RX pins as shown in the image below.
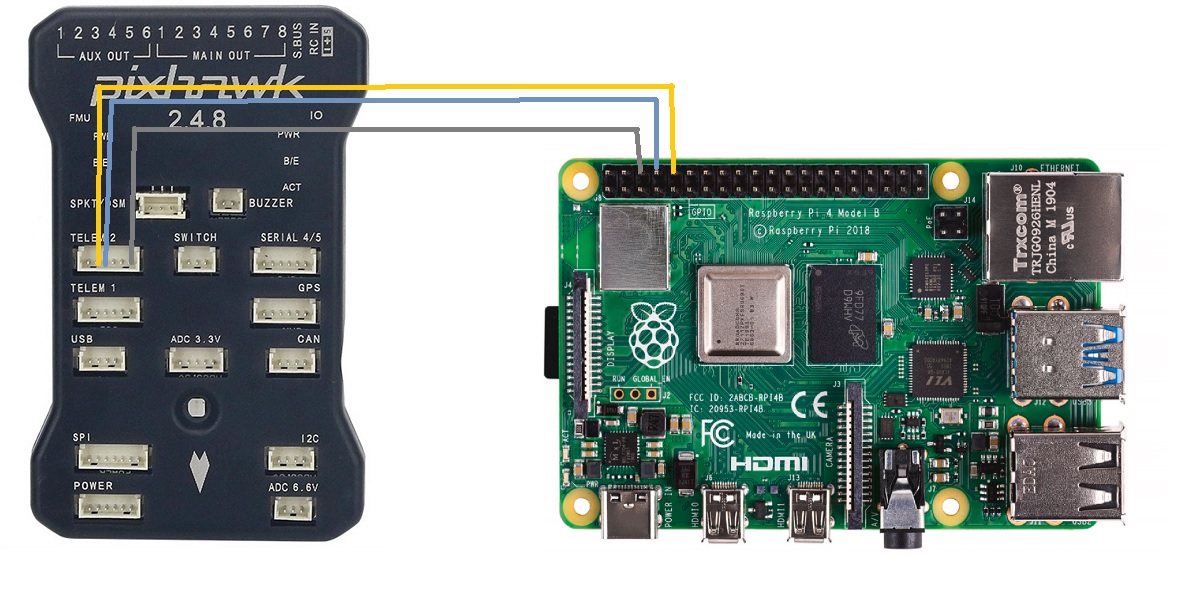
Pinout:
Pixhawk Telem 2 Tx  -> Raspberry Pi GPIO 14 (TXD)
Pixhawk Telem 2 Rx  -> Raspberry Pi GPIO 15 (RXD)
Pixhawk Telem 2 GND -> Raspberry Pi GND
Enable MAVLINK 2 on Serial
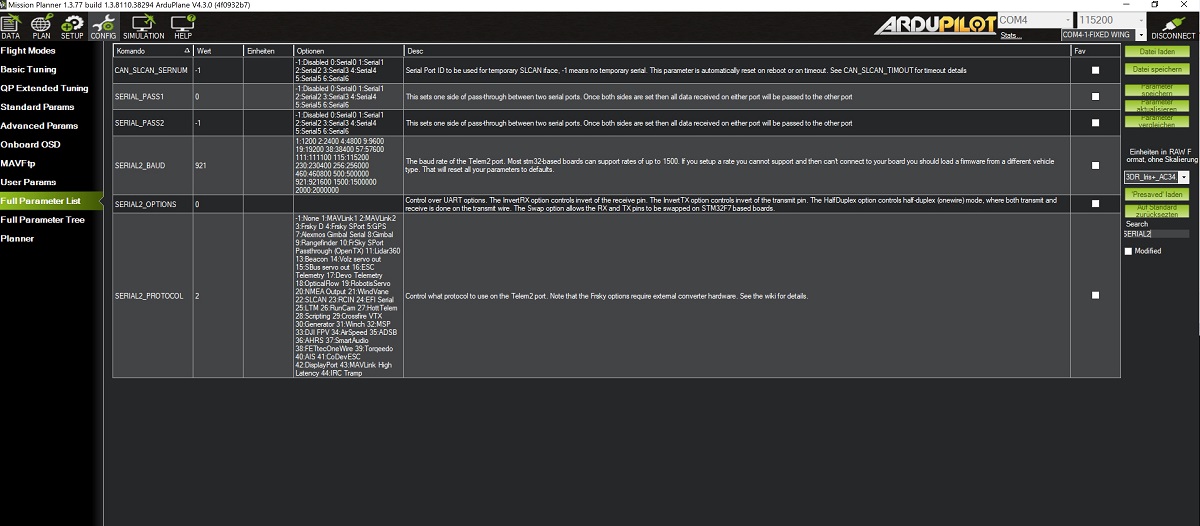
Connect the Pixhawk to a computer and start the Mission Planner software. Search for the following settings (Mission Planner / Config / Full Parameter Tree) and adjust the values if necessary:
[SERIAL2_PROTOCOL] = 2 to enable MAVLink 2 on the serial port.
[SERIAL2_BAUD] = 921 so the flight controller can communicate at 921600 baud.
Configure the serial port (UART)
Start the RPi config tool:
sudo raspi-config
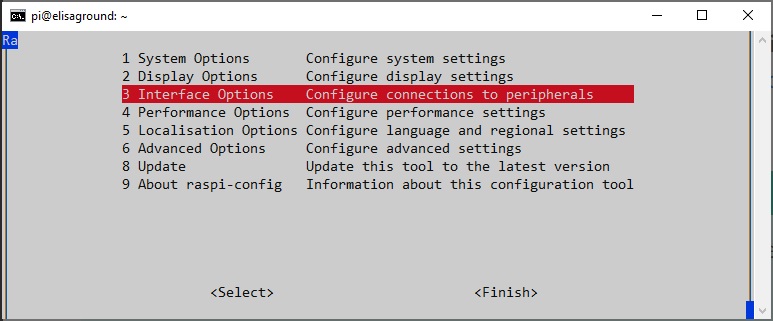
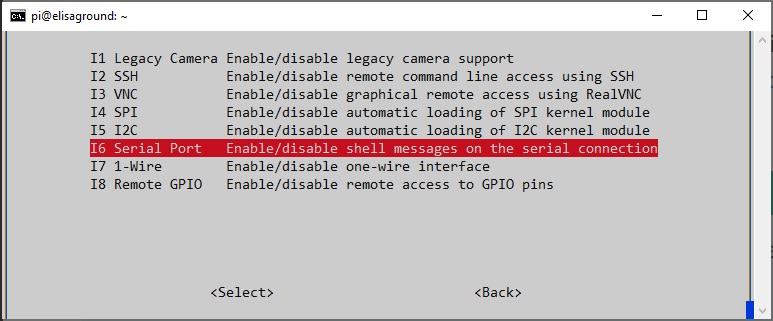
When prompted, select
When prompted, select
Reboot the Raspberry Pi when you are done.
The Raspberry Pi’s serial port will now be usable on /dev/serial0.
Software Setup
Run the following commands in RPi terminal to set up MAVProxy:
sudo apt-get install python-pip
sudo apt-get install libxml2-dev
sudo apt-get install libxslt-dev
pip install dronekit
pip install dronekit-sitl
pip install MAVProxy
Enter the following command to test the communication:
mavproxy.py --master=/dev/serial0 --baudrate 921600