Getting started with the Raspi Camera
There are a lot of different cameras designed specifically for use with the Raspberry pi. Each of these cameras can be connected directly to the camera port on the Raspi. While the V1 still had a resolution of 2592 × 1944 pixels (5 MegaPixels), the V2 could already shine with 3280 × 2464 pixels (8 MegaPixels). However, the HQ surpasses its predecessors by far with 4056 × 3040 pixels (12 MegaPixels).There is also a NoIR version without infrared filter. This means the camera can perceive light that is not visible to us. The Pi Cam NoIR can therefore also be used in the dark. This version is therefore suitable for surveillance systems or photography at night. Unlike the standard versions, the NoIR modules have a black circuit board, so you can easily distinguish them.
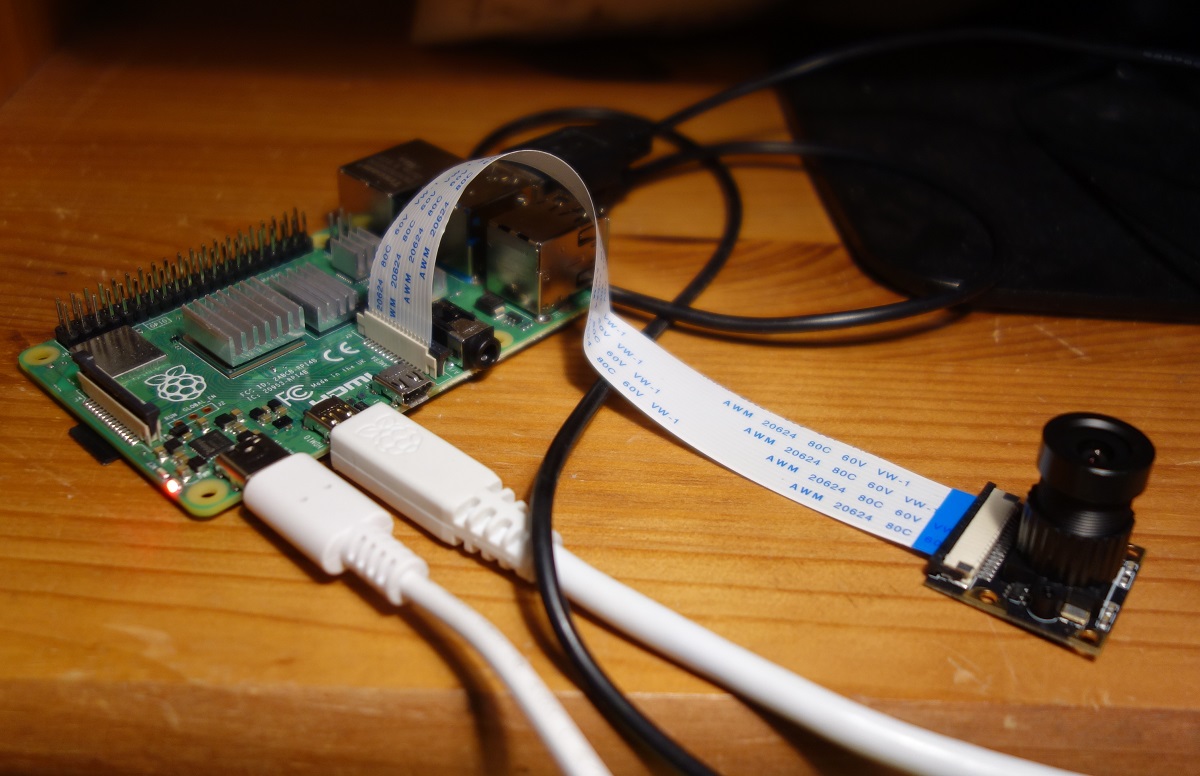
Setup and Test
To install the camery you have to locate the Camera Module port, pull up on the edges of the port’s plastic clip, insert the Camera Module ribbon cable, make sure the connectors at the bottom of the ribbon cable are facing the contacts in the port and push the plastic clip back into place.
There are many tutorials on the Internet that claim that you must first activate the camera via the setting. This was the case with older versions of the Raspberry Pi OS, but now it is no longer necessary. But the python library still seems to need the "legacy support", so if the camera is not available, please enable legacy support via python-config:
sudo raspi-config
-> Menu  3 Interface Options Configure connections to peripherals
-> I1 Legacy Camera Enable/disable legacy camera support
-> Would you like to enable legacy camera support?  -> Select "Yes"
For a quick test you can run the following command:
libcamera-hello
Test with Python
The easiest test with Python is to turn on the camera preview, wait 10 seconds and quit again. When you start the program, a window with the current camera image opens for 10 seconds and then closes again.
from picamera import PiCamera
from time import sleep

# create a cameraobject
camera = PiCamera()
camera.start_preview()
sleep(10)
camera.stop_preview()
Taking Pictures
The following program takes 5 images at intervals of 3 seconds each and saves them under the names "image0.jpg" to "image4.jpg".
from picamera import PiCamera
from time import sleep

camera = PiCamera()

for i in range(5):
    sleep(3)
    camera.capture('image%s.jpg' % i)
Recording Videos
The following program records 5 seconds of video.
from picamera import PiCamera
from time import sleep

camera = PiCamera()

camera.start_recording('video.h264')
sleep(5)
camera.stop_recording()
If you want to see what you're recording, just turn on the preview.
from picamera import PiCamera
from time import sleep

camera = PiCamera()

camera.start_preview()
camera.start_recording('video.h264')
sleep(5)
camera.stop_recording()
camera.stop_preview()
Of course you can change a lot of camera settings, two of the most important are the resolution and the frame rate:
camera.resolution = (640, 480)
camera.framerate = 16