Getting Started
The idea behind the Arduino Smart Car is to build a very simple and inexpensive little rover that can recognize obstacles with an ultrasonic sensor.
Building the Car
Let's start with our "smart car". Admittedly, the car is still pretty stupid at the beginning, it drives around without any understanding of the world around it. Later, an ultrasonic sensor will ensure that it at least doesn't crash into anything.
First step is to build the car itself including motors, the battery pack, the motor controller and the Arduino controller.
Required Parts
2 x DC motor (drive motor) with wheels
1 x smart car frame
1 x L298D H-bridge (motor driver)
1 x Arduino Uno
PIN - Layout

Car Assembly
1 / 5
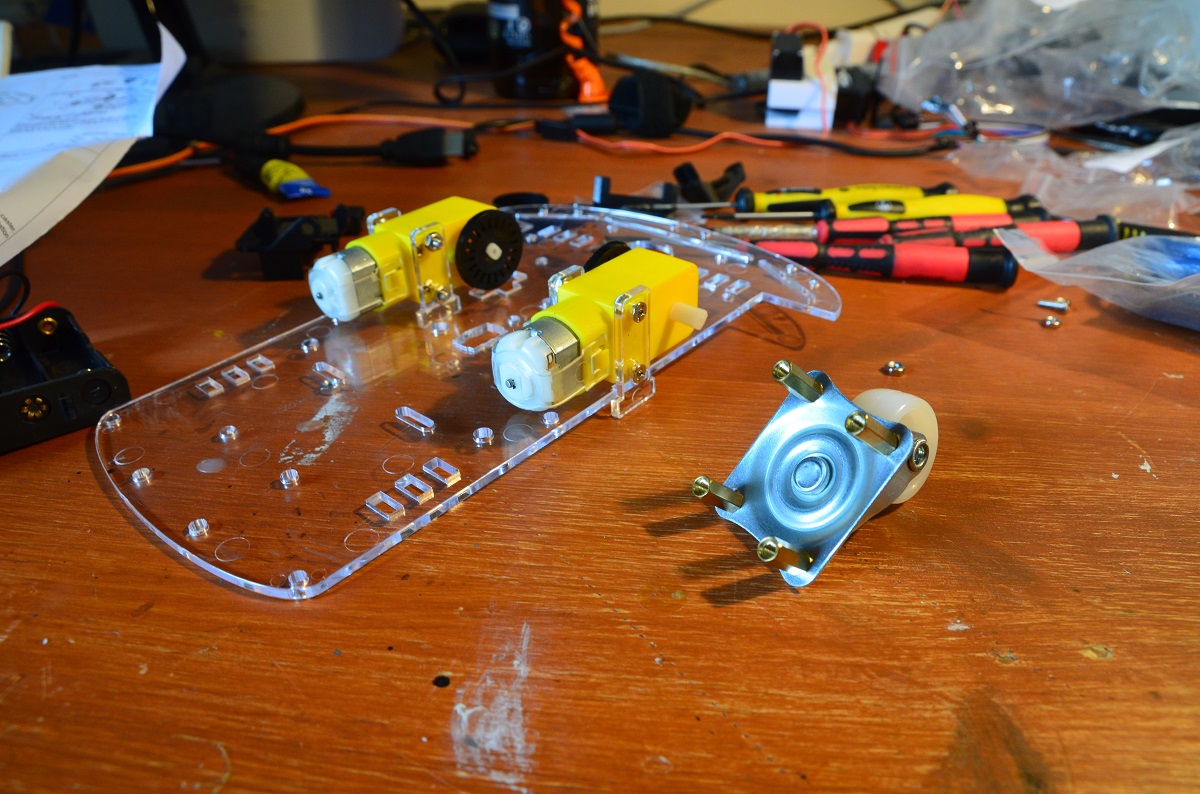
Mounting engines to baseplate
2 / 5
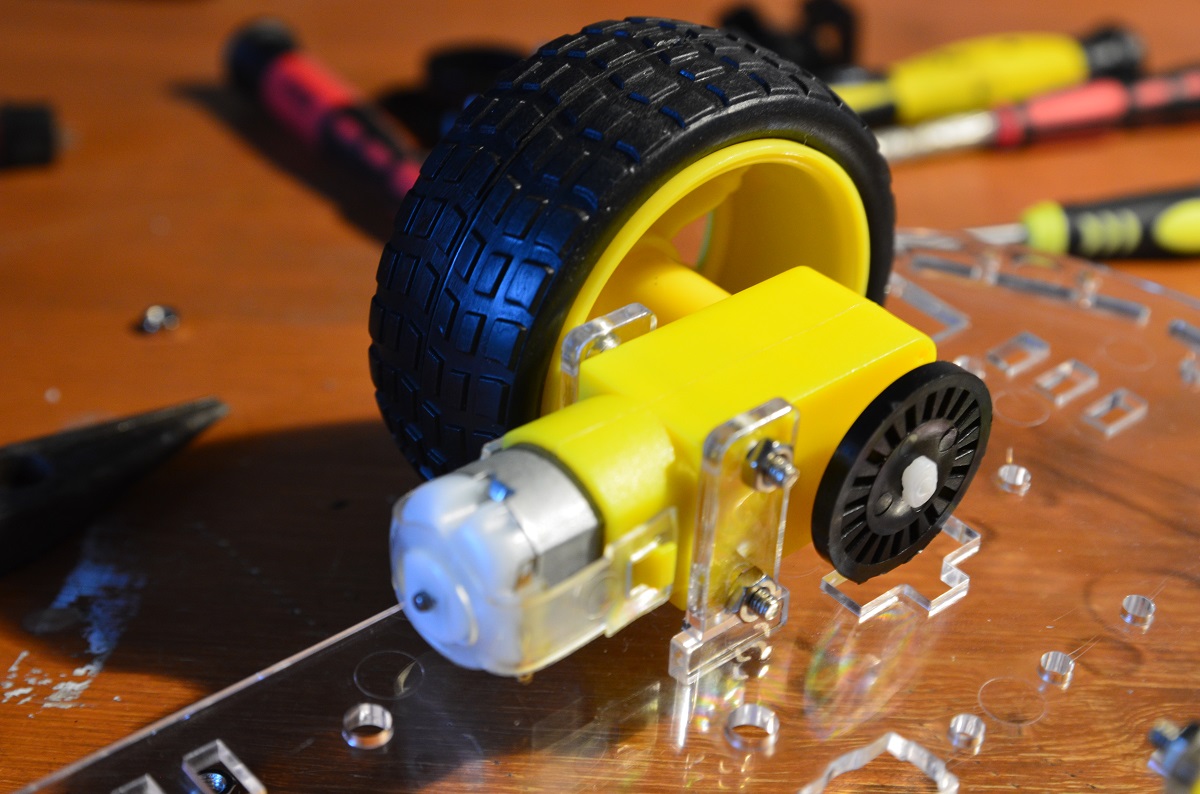
Wheel assembly
3 / 5
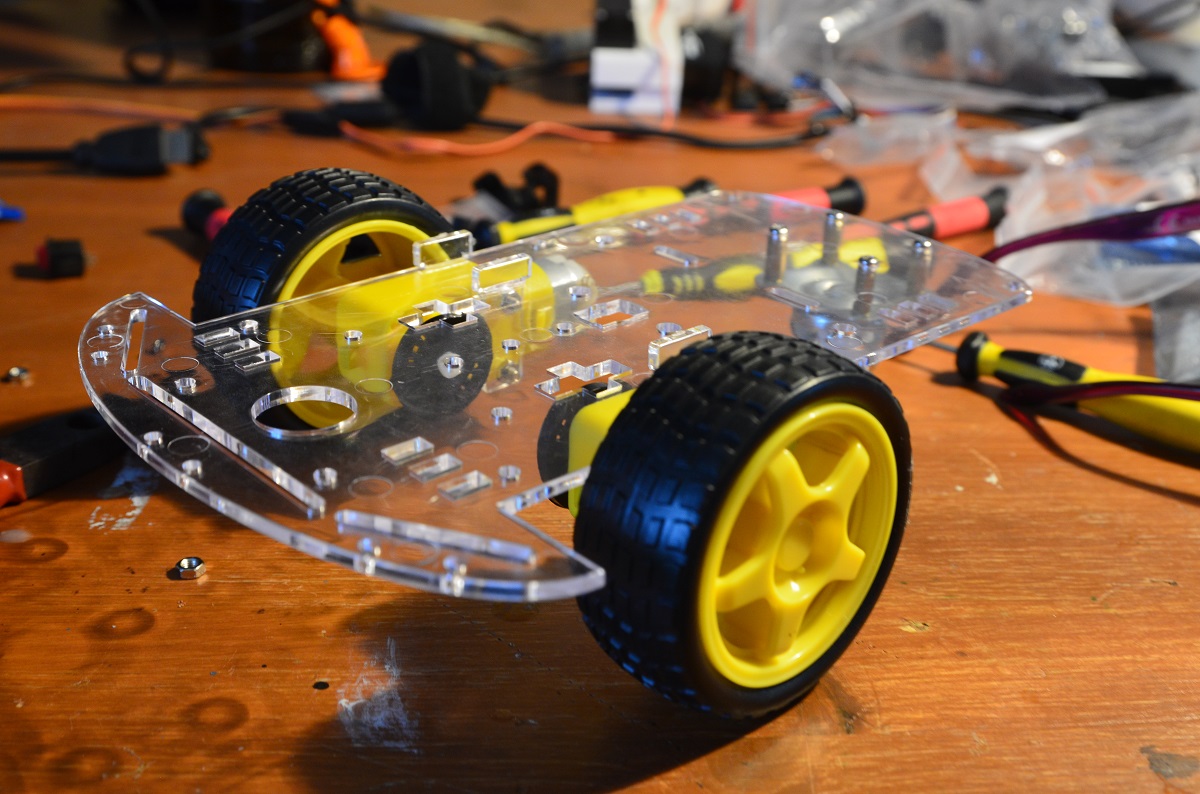
Undercarriage ready to drive ...
4 / 5
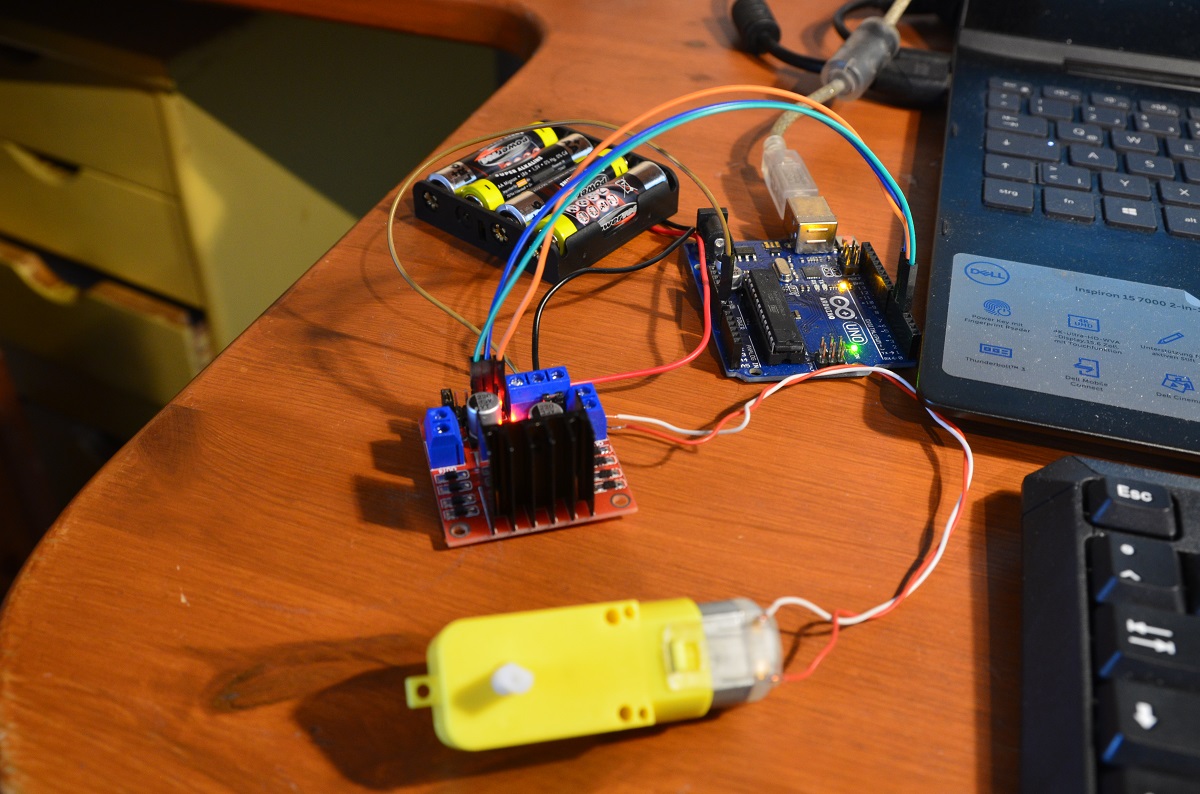
Engine test
5 / 5
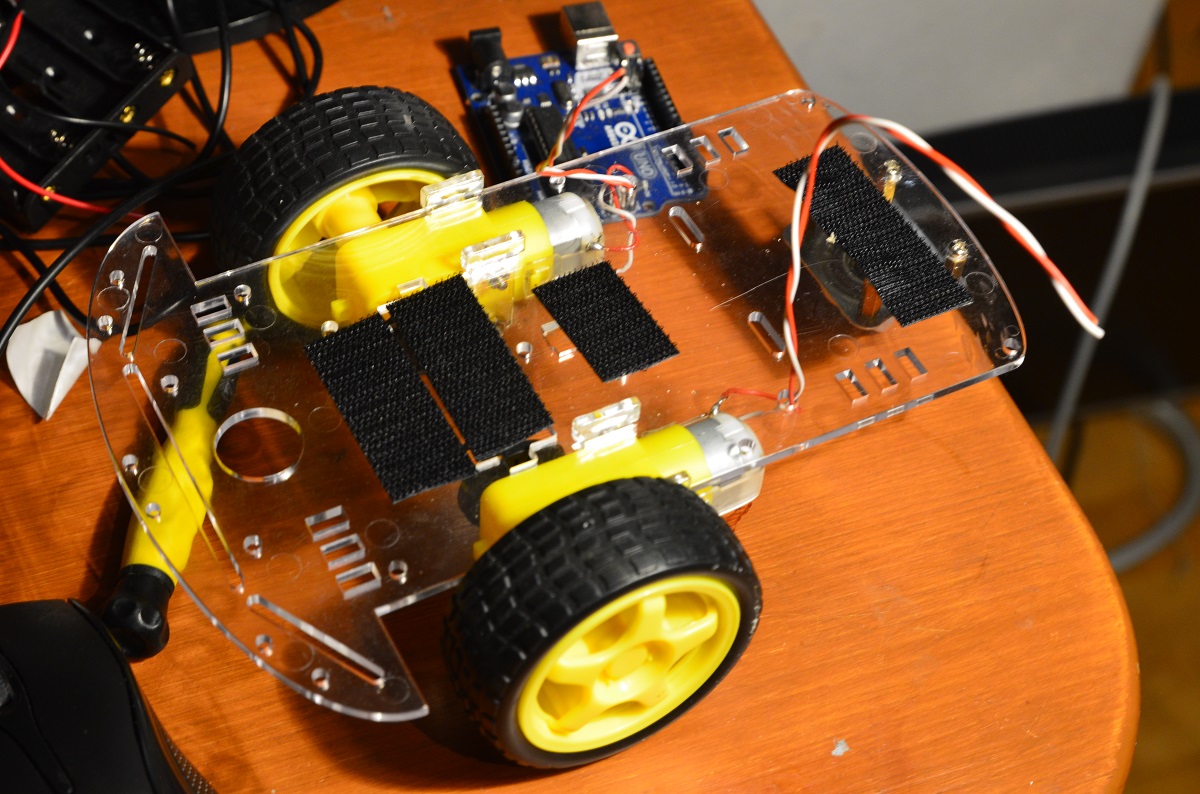
Prepare for electronics
Drive Test
Very simple test to check if the wiriring is correct and if H-bridge and motors are working. Just drive forward, turn around, drive forward again...
/*  Arduino Smart Car
 *  Drive Test
 * (c) Stefan Hager, 2021
 */

#include "motor.h"

Motor motor1 (6,7,4);
Motor motor2 (11,12,13);

void setup()
{
   motor1.setSpeed(250);
   motor2.setSpeed(250);
}

void loop()
{
    // go forward for 4 seconds
    motor1.driveForward();
    motor2.driveForward();
    delay(4000);
    // stop
    motor1.stop();
    motor2.stop();
    delay(1000);
    // turn
    motor1.driveForward();
    motor2.driveBackward();
    // try to find the appropriate delay for a full 180 deg turn
    delay(800);
    // stop again after turning
    motor1.stop();
    motor2.stop();
    delay(1000);
}
/* Arduino Smart Car
 * motor header file
 * defines a class to control a DC Motor via L298D H-Bridge
 * (c) Stefan Hager 2021
 */


 #ifndef _MOTOR_H_
 #define _MOTOR_H_

 class Motor
 {
   private:
    int PWMPort, forwardPort, backwardPort, speed;
   public:
    Motor (int _PWMport, int _forward, int _backward); // constructor
    void setSpeed (int _speed);
    void driveForward();
    void driveBackward();
    void stop();
 };

 #endif
/* Arduino Smart Car
 * motor implementation file
 * implements a class to control a DC Motor via L298D H-Bridge
 * (c) Stefan Hager 2021
 */

#include "motor.h"
#include "Arduino.h"

Motor::Motor (int _PWMport, int _forward, int _backward)
{
  PWMPort = _PWMport;
  forwardPort = _forward;
  backwardPort = _backward;
  speed = 0;

  pinMode(PWMPort, OUTPUT);
  pinMode(forwardPort, OUTPUT);
  pinMode(backwardPort, OUTPUT);
}

void Motor::setSpeed (int _speed)
{
  speed = _speed;
}

void Motor::driveForward()
{
  digitalWrite(forwardPort, HIGH);
  digitalWrite(backwardPort, LOW);
  analogWrite(PWMPort, speed); // Send PWM signal to L298N Enable pin
}

void Motor::driveBackward()
{
  digitalWrite(forwardPort, LOW);
  digitalWrite(backwardPort, HIGH);
  analogWrite(PWMPort, speed); // Send PWM signal to L298N Enable pin
}

void Motor::stop()
{
  analogWrite(PWMPort, 0); // Send speed 0 to PWM signal pin
}