STEP 1 : Controlling Servos with Arduino
In this tutorial you will learn how to control a servo with the Arduino. As a first exercise we will control the servo to fixed, pre-defoined positions. After that we will develop a program that allows to enter the desired position via the serial monitor. In STEP 2 of the tutorial we will take care of a slower and much more controlled movement of the servos.
Required Parts
1 x Arduino UNO microcontroller
1 x Servo (e.g. SG90)
Basic Servo Control
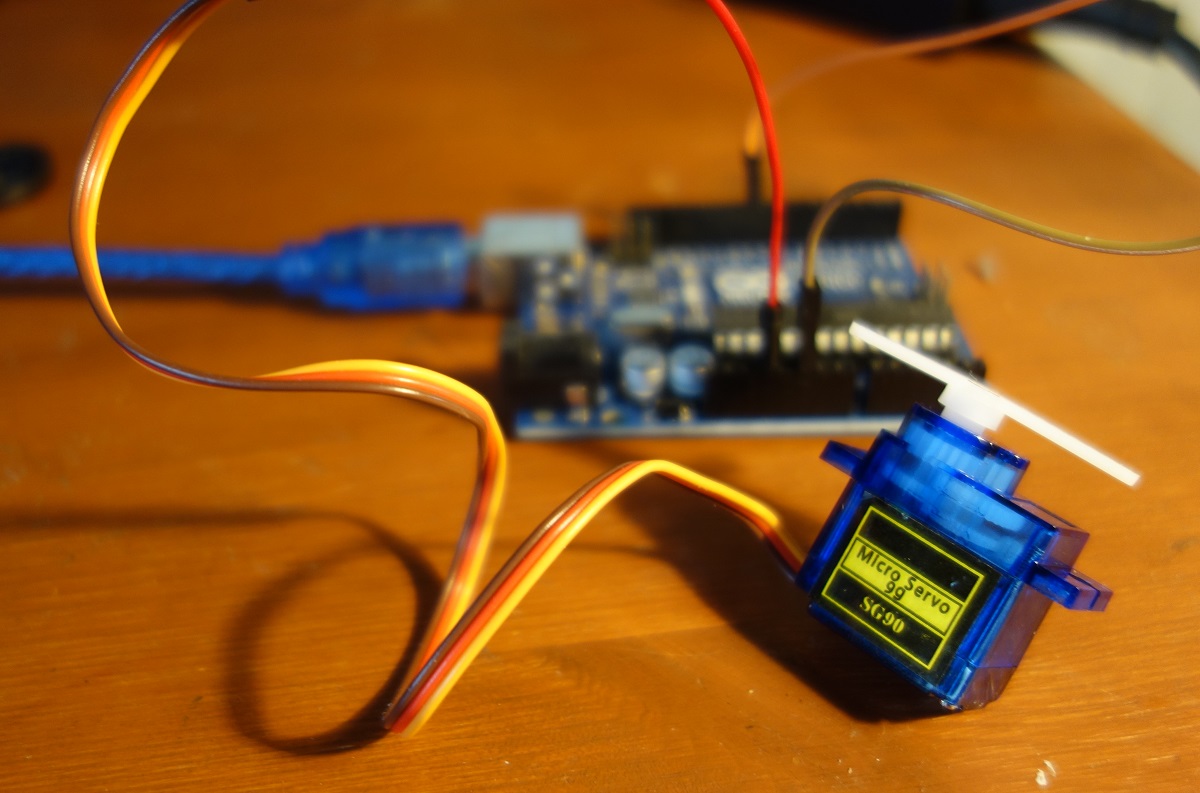
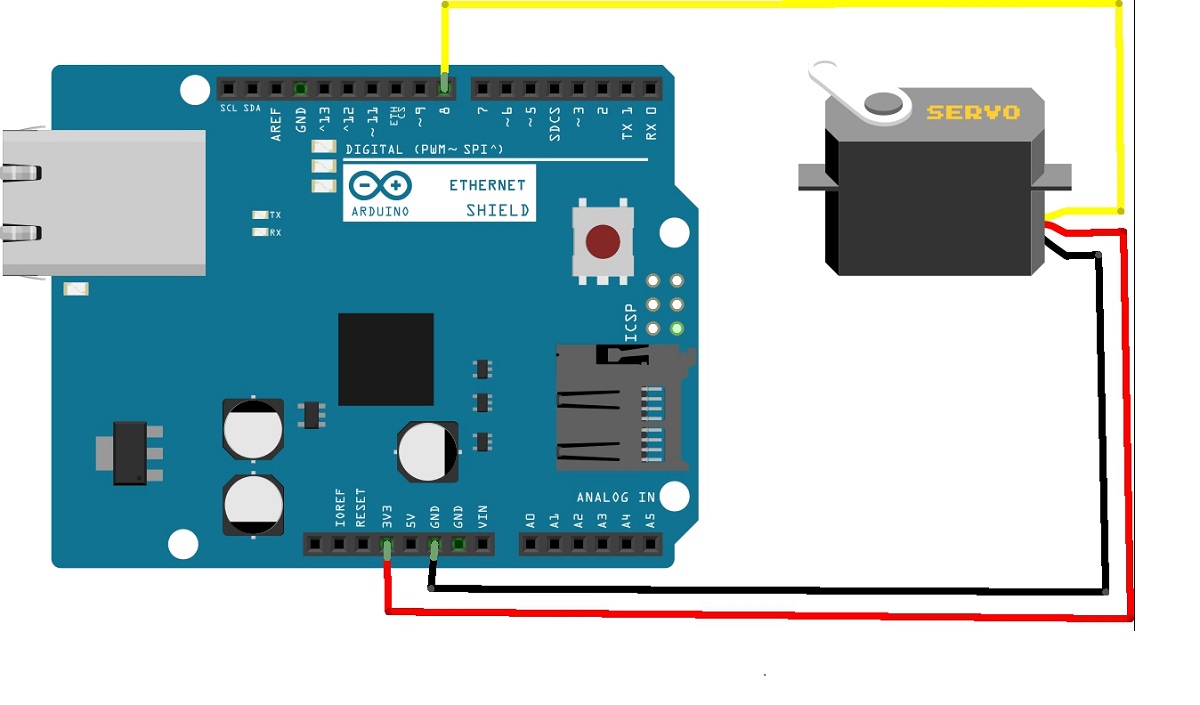
Very simple test to check if the wiriring is correct and if the microcontroller and the servos are working. Connect the servo data cable (yellow) to pin 8 and use Arduino's 5V output and ground pins to provide power for the servo.
The first program is extremely simple: we set the servo to the 90 degree poisition, after 2 seconds we go further to the 180 degrees poisition, then again to 90 degrees, further to 0 degrees and again back to 90 degrees. In each position the servo waits 2 seconds before moving to the next position.
/* Arduino Servo Tutorial
 * Basic Servo Test
 * Stefan Hager 2022
 */

// You need to include the servo library
#include <Servo.h>

// create object myservo from class Servo
Servo myServo;

void setup() {
    myServo.attach(8);  // connect Servo with PIN 8
}

void loop()
{
  /*
   * set to 90, 180 and 0 degrees angle,
   * wait 2 seconds in every new position
   * step back to 0 again
   */

  myServo.write(90);
  delay(2000);
  myServo.write(180);
  delay(2000);
  myServo.write(90);
  delay(2000);
  myServo.write(0);
  delay(2000);
}
Direct Servo Control
Next, we will remotely control a servo through user input. For control we use the serial monitor of the Arduino IDE.
/* Arduino Servo Tutorial
 * Direct Servo Control via Serial Monitor
 * Stefan Hager 2022
 */

#include <Servo.h>

Servo myServo;
// create object myservo from class Servo

void setup()
{
  // opens serial port, sets data rate to 9600 bps
  Serial.begin(9600);
  myServo.attach(8);  // connect Servo witrh PIN 8
}

void loop() {
  // put your main code here, to run repeatedly:
  Serial.print("Enter new position : ");
  int targetvalue = readnextValue();
  // print the next position to serial monitor
  Serial.println(value);
  // check if position is within limits (0 ... 180 degrees)
  if(value >= 0 && value <= 180)
  {
    myServo.write(targetvalue);
  }
  // wait one second
  delay(1000);
}

// reads one number from serial and deletes
// all misleading characters

int readnextValue()
{
  while (Serial.available() == 0)
  {
    // empty loop - we are still waiting for a real value
  }
  // read the incoming value as integer
  int value = Serial.parseInt();
  // clears the serial buffer from misleading characters
  while(Serial.available() > 0) {
    char t = Serial.read();
  }
  return value;
}