Bluetooth Connection for Arduinos
Often you want to establish a wireless connection to an Arduino. For example, you can remote control robots or transfer measurement data to a computer for further evaluation.
If you do not need large distances, bluetooth is usually the easiest and cheapest option. In this tutorial I explain how you can build a wireless connection between an Arduino and another Bluetooth-enabled device (tablet, mobile) with little effort.
Bluetooth Classic vs Bluetooth LE
Please note: there is a very important distinction between Bluetooth Classic and Bluetooth LE! Bluetooth Classic is designed for continuous, high-data-rate connections like audio streaming and file transfer. It consumes more power and is used in devices like wireless headphones and the HC-05 module.
Bluetooth Low Energy (BLE) is optimized for low power usage, sending small amounts of data intermittently. It's ideal for battery-powered sensors and wearables, like fitness trackers or the HM-10 module.
In short: Classic = fast + power-hungry, BLE = efficient + ideal for IoT.

Why is that import for us?
When writing a program to access a Bluetooth Classic device versus a Bluetooth Low Energy (BLE) device, the differences are significant because they follow completely different communication models.
Bluetooth Classic devices, like the HC-05 module, appear to the operating system as serial ports (e.g. COM5 on Windows or /dev/ttyUSB0 on Linux). As a result, your program communicates with them just like it would with a normal serial device: you open the port, send bytes, and read responses in a continuous stream. This makes the code simple—using a library like pyserial, you can open the port and use basic read/write operations to send commands and get data. There's no concept of services or characteristics, just a raw stream of bytes, which is ideal for use cases like command-line control or data logging.
In contrast, BLE devices (like the HM-10 or modern sensors) are designed for low-power, structured communication. Instead of a serial stream, they advertise themselves periodically and expose data through a GATT (Generic Attribute Profile) structure. Communication involves first scanning for nearby devices, connecting to one, discovering its services, and then reading or writing to specific characteristics identified by UUIDs. This means the programming model is more complex. You typically use an asynchronous approach (especially in Python with the bleak library) and work with higher-level concepts like services and notifications, rather than a byte stream.In short, writing for Bluetooth Classic is like interacting with a simple text-based serial terminal, while programming for BLE is more like using a structured API with well-defined endpoints and communication rules. BLE offers more control and flexibility, especially for IoT applications, but at the cost of increased code complexity.
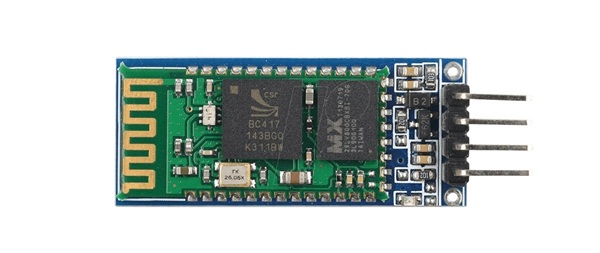
The UC-05 Bluetooth Classic Module
The UC-05 is a breakout board for the HC-05 Bluetooth Classic module, designed to provide easy serial communication between microcontrollers (like Arduino) and Bluetooth-enabled devices. It uses the Bluetooth 2.0 (BR/EDR) standard and appears as a virtual serial (COM) port when paired. The module supports both master and slave modes, uses a default baud rate of 9600, and communicates via UART. It's ideal for simple wireless serial links and is widely used in DIY electronics and robotics projects.
Fake Modules!
Unfortunately, there are a lot of boards declared as HC-05 on the market that are not HC-05 modules at all. They cannot be addressed like a normal Bluetooth module but behave more like an LE device, but unfortunately they don't do that properly either. there is only one recommendation for these devices: don't buy them!
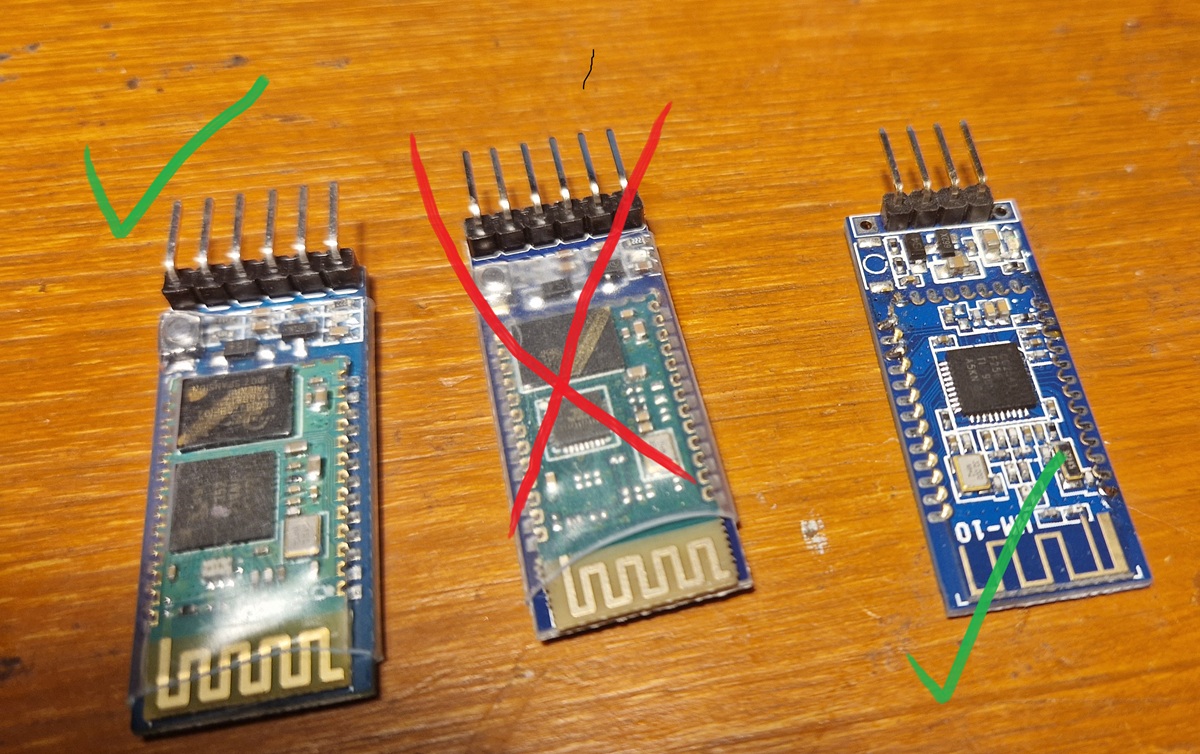
The board on the left is a real HC-05, the one in the middle is just junk from Amazon, the one on the right is an HM-10 module.
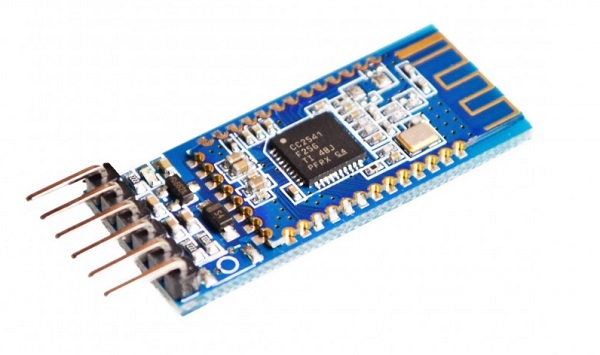
The HM 10 BLE Bluetooth Module
The HM-10 is a readily available Bluetooth 4.0 module. This module is used for establishing wireless data communication. The module is designed by using the Texas Instruments CC2540 or CC2541 Bluetooth low energy (BLE) System on Chip (SoC). The module design and firmware originated from the Jinan Huamao Technology Company. As the name suggests, BLE focuses on low energy consumption. Low energy focus comes with some sacrifices particularly around data transfer rates and the range of operation.